Your Cart is Empty


Recently lost a working dog on farm vehicle accident
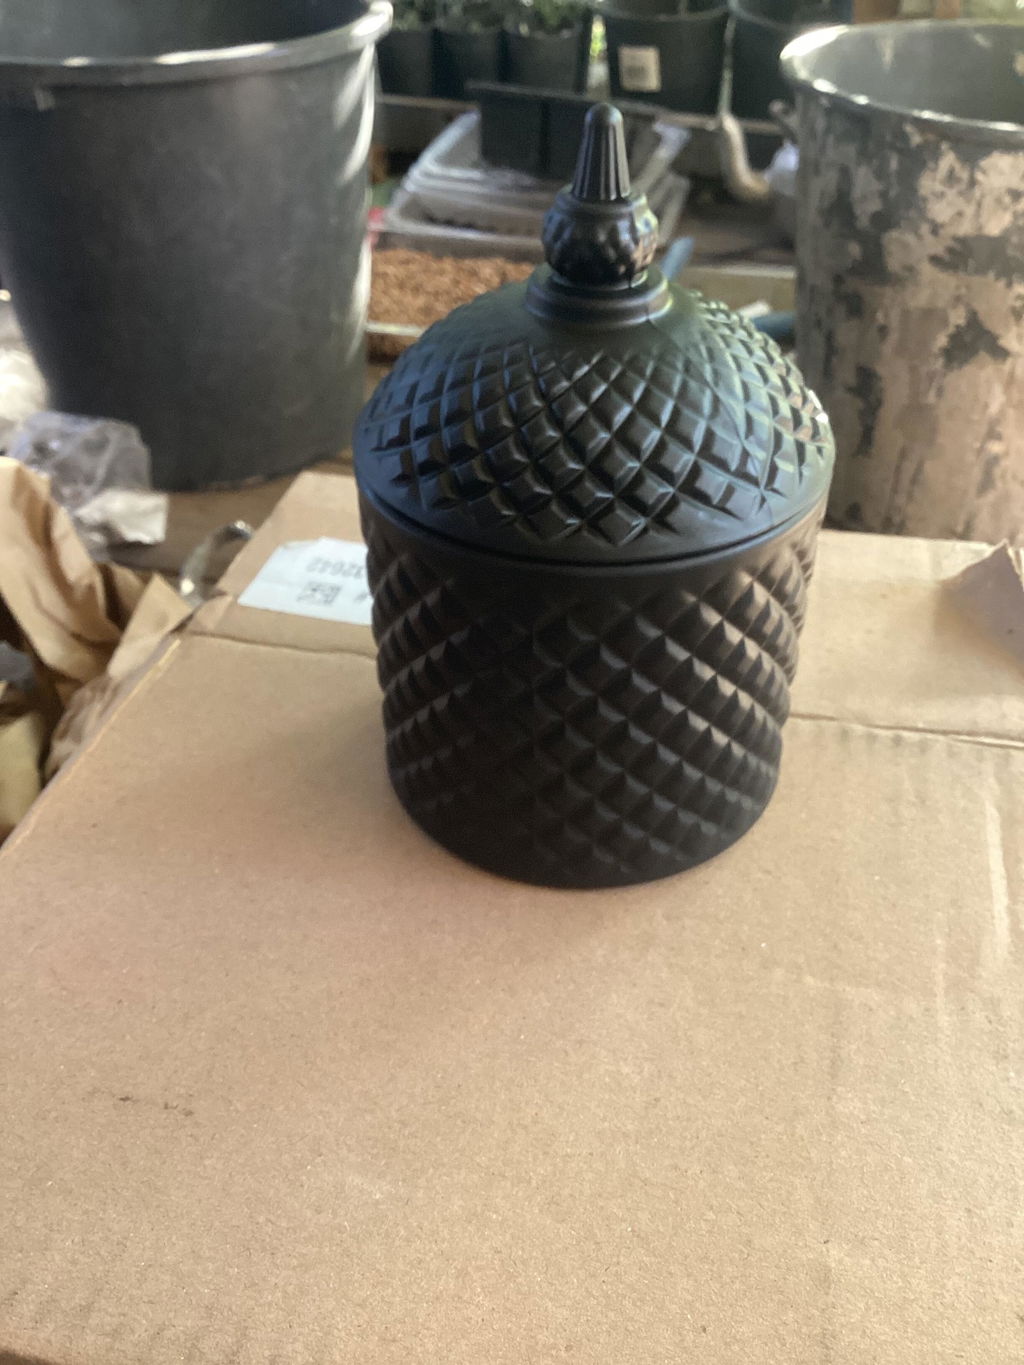
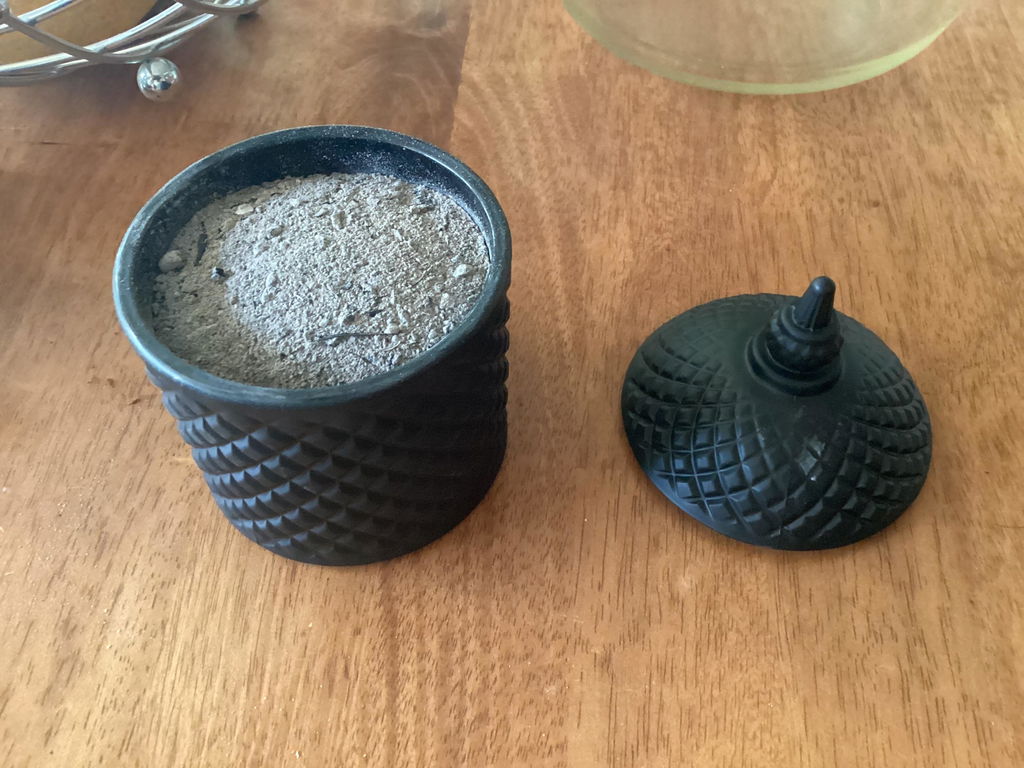
Cremated her and used these appropriate containers for ashes
They are small enough but decorative and fitting for this purpose although not used for candles Linda from Aussie Candle supplies was very understanding and helpful in this matter I thank your company and Linda for her help order was placed from Perth to Qld and arrived efficiently Thank you very much
Terry Lewis Qld
i love this fragrance. It smells exactly like my house at christmas
Easy to use. Was a bit on the smaller side. Only takes about 100ml. Easy to get soap out.